Cappadocia Balloon Video & Filming Tips: GoPro, iPhone & Android
You fumble the GoPro out of your pocket, the basket lifts off, and you realize the lens cap is still on. By the time you sort it out, the first five minutes of golden light are gone—and those first five minutes produce the best footage of the entire flight.
Here are the practical video filming tips that will make the difference between shaky, dark footage and a clip you’ll actually want to share.
Which Camera Should You Bring?
You don’t need professional gear. The three most common cameras passengers bring on balloon flights—and all three produce great results when used correctly:
- GoPro (Hero 12 or newer): Best for wide-angle, stabilized footage. The built-in HyperSmooth handles basket movement well. Mount it and forget it.
- iPhone 14/15/16: Cinematic Mode at 4K produces stunning shallow-depth footage. Action Mode adds stabilization that rivals the GoPro.
- Android flagships (Samsung S24, Pixel 8): Excellent stabilization in video mode. Samsung’s Super Steady is particularly good for handheld balloon footage.
One camera is enough. Passengers who juggle a GoPro, a phone, and a DSLR often end up with mediocre footage from all three instead of great footage from one.
GoPro Settings for Balloon Flights
If you’re bringing a GoPro, set it up the night before. Cold fingers at 5:00 AM are not ideal for menu navigation.
| Setting | Recommended | Why |
|---|---|---|
| Resolution | 4K / 30fps | Best balance of quality and file size. 60fps unnecessary for slow balloon movement. |
| Field of View | Wide or SuperView | Captures the full panorama—many balloons and the valley below in one frame. |
| Stabilization | HyperSmooth High | The basket sways slightly during burner blasts. This smooths it out. |
| Color Profile | Natural | Flat/Log requires color grading. Natural looks great straight out of camera for sunrise tones. |
| Battery | Full charge + spare | Cold mornings (3–10 °C) drain batteries 30–40% faster than normal. |
Phone Video Settings
For iPhone users, open Settings > Camera > Record Video and select 4K at 30fps. Turn on Action Mode when filming handheld—the crop is minor and the stabilization is worth it. For Samsung, enable Super Steady in the camera app before the flight.
A helpful tip: turn your phone to airplane mode before the flight. This prevents calls and notifications from interrupting your recording. Nothing ruins a perfect sunrise clip like a WhatsApp notification banner.
Mounting and Holding Techniques
- GoPro chest mount: Hands-free and captures the perspective of looking over the basket edge. Our top recommendation for GoPro users.
- GoPro bite mount: Surprisingly stable. Keeps both hands free for holding on and pointing at things.
- Wrist strap (any camera): We recommend securing your camera with a wrist strap or lanyard—a dropped camera at altitude is a safety hazard for anyone below, and you will not get it back.
- Selfie sticks: Keep any extension short and inside the basket at all times—never extend it over the basket wall, since the pilot needs clear sightlines and the burner is directly above.
The 5 Shots You Need to Get
Passengers who plan their shots before takeoff tend to get better footage than those who film randomly for 60 minutes. Here are the five clips that edit together into a complete story:
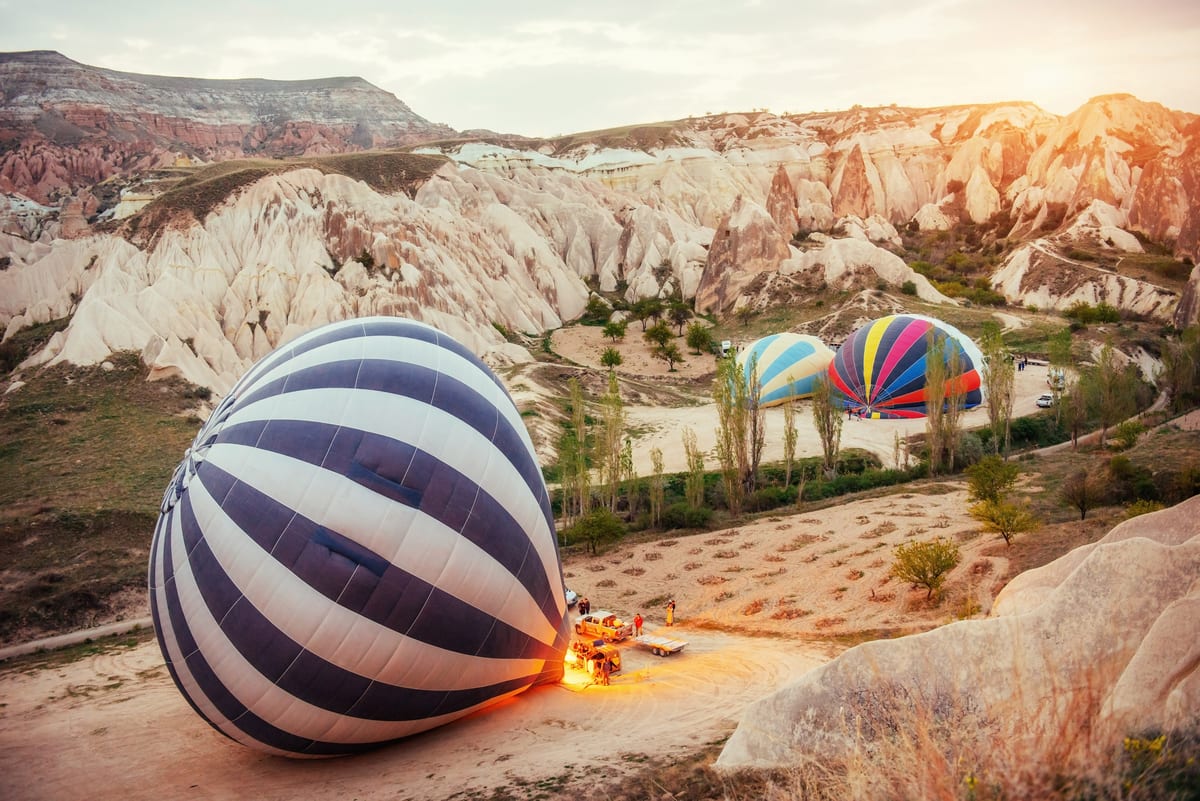
- Inflation and launch: Film from inside the basket as it tips upright. This is the most dramatic moment—the burner roars, the basket lifts, and the ground drops away.
- The panorama sweep: Slow, steady 180-degree pan across the valley. Do this within the first 10 minutes when light is golden and balloons are clustered together.
- Balloon-to-balloon: When another balloon floats close, zoom in (or use the GoPro’s narrow FOV). The detail of another balloon’s envelope and passengers waving is compelling footage.
- Looking straight down: Point the camera over the basket edge at the fairy chimneys below. This shot communicates altitude better than anything else.
- The champagne toast: After landing, we pop champagne and present your flight certificate. This is the emotional ending to your video.
Common Filming Mistakes
- Filming the entire 60 minutes non-stop. You’ll have 30 GB of footage and no desire to edit it. Film in 15–30 second clips instead.
- Forgetting audio. The burner sound, the silence between burns, the wind, your own reaction—this audio makes the video. Don’t add music over everything.
- Vertical video only. Horizontal captures the landscape better. Film most clips horizontal, save vertical for one or two Instagram Reels or TikTok clips.
- Not cleaning the lens. Morning condensation fogs up lenses at altitude. Bring a microfiber cloth in your pocket and wipe the lens every few minutes.
- Shaky zooming. Digital zoom on phones looks terrible in video. Move the phone slowly or skip the zoom entirely—crop in editing later.
Quick Editing Tips
A 60–90 second edit is all you need. Cut your best clips to 5–10 seconds each, arrange them in chronological order (inflation → launch → flight → landing → champagne), and add one song. Free apps like CapCut or iMovie handle this in 15 minutes. Keep the natural audio under the music—the burner sound is half the experience.
Getting Good Footage in a Shared Basket
Our Sunrise Balloon Flight (from EUR 150, 22–28 passengers) is a shared basket, so claiming a spot near the rim early gives you the clearest angles for filming without elbows in your frame. Ask your pilot or crew during boarding if you would like a spot toward the edge.
Pilot photos aren’t a guaranteed part of the flight, so your own camera or phone is what you’ll rely on for your shots. See our flight details for a full breakdown of what is included.
Pre-Flight Checklist
- Charge all batteries fully (keep spares in an inside pocket for warmth)
- Set video resolution and stabilization the night before
- Clear at least 10 GB of storage
- Attach wrist strap or lanyard
- Pack a microfiber lens cloth
- Turn on airplane mode before launch
- Remove lens cap (seriously—check twice)
For camera settings and photo-specific tips, see our full balloon photography guide. And if you want to know exactly what the morning looks like from pickup to landing, read our what to expect on flight day article.
Related Articles
Cappadocia Balloon Ride from Istanbul: Can You Do It as a Day Trip?
Cappadocia balloon ride from Istanbul as a day trip: flight schedules, costs from EUR 150, hour-by-hour plan, and whether one day is enough. Book with Above Cappadocia.
Cappadocia Balloon, ATV & Valley Hike Combo: The Ultimate Adventure Day
Cappadocia balloon, ATV, and valley hike combo: hour-by-hour adventure day plan with sunrise flight from EUR 150, ATV from EUR 35, and free valley hikes.
Cappadocia Balloon October Weather Guide: What to Expect
Cappadocia balloon October weather: 6-13 C at sunrise, calm, stable weather, autumn colors over fairy chimneys. Flights from EUR 150.
Ready to Film Your Sunrise Flight?
Sunrise balloon flights from EUR 150 per person—bring your own camera to capture the moment.