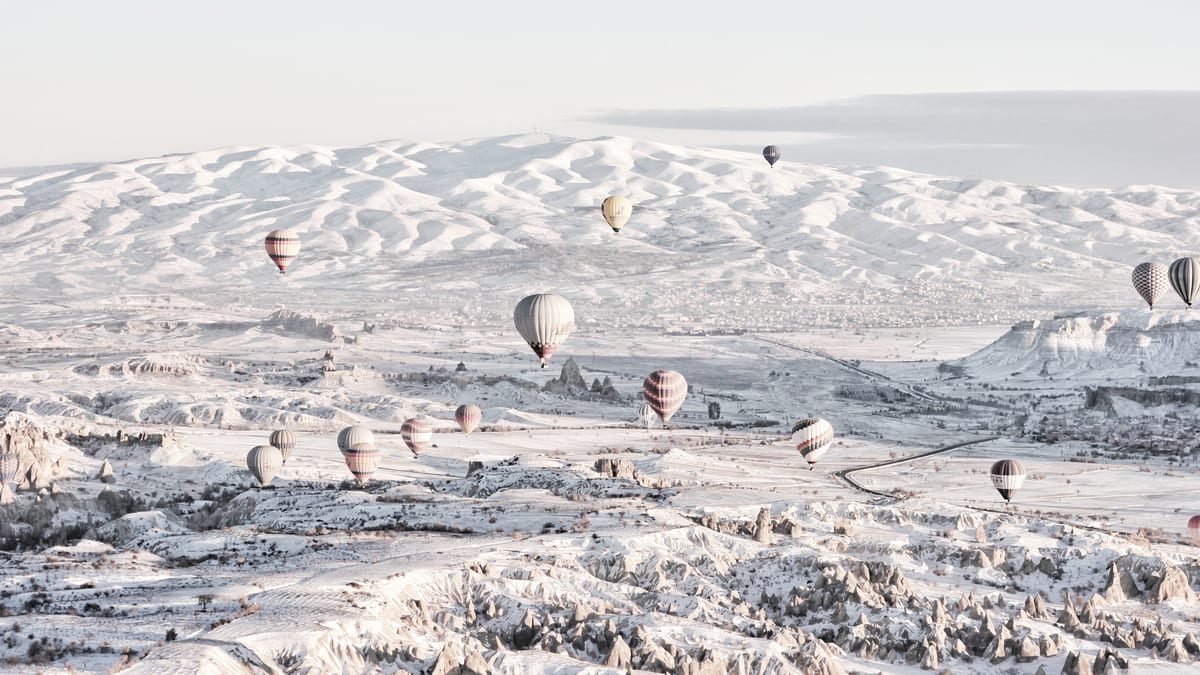
Cappadocia Balloon Photography: The Complete Guide
The sunrise light hits at 5:47 AM in June. By 5:52, most balloons in the sky are glowing gold from below while the fairy chimneys turn from gray to amber. You have roughly 20 minutes of peak light. That is your window—and knowing how to use it separates a phone snapshot from a photo that stops people mid-scroll.
Whether you are a first-time iPhone shooter or you carry two camera bodies, this guide covers everything: gear, settings, composition, timing, and post-processing. It works whether you are shooting from inside the basket or from the ground.
Part 1: Gear — What to Bring and What to Leave Behind
Phone Photography
Many guests shoot exclusively on phones, and modern smartphones produce excellent results in Cappadocia’s light. The key advantages: lightweight, fast to operate, and you will not fumble with lens changes at altitude.
- iPhone 14 Pro and above: The 48MP main sensor captures strong detail. Use the 2x optical zoom for mid-range balloon shots and the ultrawide for basket selfies with the landscape behind you.
- Samsung Galaxy S23/S24: The 3x and 10x telephoto lenses are excellent for isolating individual balloons against the valley floor.
- Google Pixel 8/9: The computational photography handles sunrise shadows and highlights better than most competitors. Night Sight mode works well for pre-dawn shots at the launch field.
Regardless of phone model, charge to 100% the night before. Cold morning air (3–10°C depending on season) drains batteries 20–30% faster than normal. Bring a small power bank in your jacket pocket.
DSLR and Mirrorless Cameras
If you are bringing a dedicated camera, keep it simple. You will be standing in a basket with other passengers, managing a champagne flute, and turning 360 degrees to catch different angles. One camera body and one lens is the ideal setup.
- Best all-around lens: 24–70mm f/2.8 (full-frame) or 16–55mm (APS-C). Covers wide landscape shots and tighter balloon portraits without switching lenses.
- Best for balloon close-ups: 70–200mm f/2.8. Isolates individual balloons with creamy backgrounds. Heavy, but worth it if photography is your main goal.
- Ultrawide (14–24mm): Dramatic perspectives showing the basket, passengers, and entire sky. Useful for selfie-style shots. Distortion can be corrected in post.
- Prime lenses (35mm or 50mm f/1.4): Beautiful bokeh for portraits with balloons in the background. Limiting if you want landscape coverage.
Avoid bringing more than two lenses. Lens changes at altitude risk dropping glass or filters into the basket. Use a camera strap that loops around your neck and wrist—never dangle a camera by one hand over the basket edge.
Accessories Worth Packing
- Polarizing filter: Reduces haze and deepens sky color. Screw one on before boarding and leave it on for the entire flight.
- ND filter (2–3 stops): Not necessary for stills, but helpful if you want to shoot slow-motion video with a cinematic look.
- Lens cloth: Morning dew can fog your lens in the first 10 minutes after launch. Keep a microfiber cloth in your breast pocket.
- Thin gloves with touchscreen fingertips: Essential in spring, autumn, and winter. Cold fingers cannot operate a shutter button properly.
- Extra SD card: You will shoot 200–500 photos in 60 minutes. A full card with no backup is a preventable disaster.
What NOT to Bring
- Tripod: There is no room in the basket, and the basket movement makes a tripod useless anyway.
- Drone: Drones are prohibited in the Cappadocia balloon flight zone by SHGM regulation. Launching one from the basket or the ground during flights risks confiscation and fines. Read our drone rules guide.
- Large camera bag: No room on the basket floor. Carry your camera around your neck and put spare items in jacket pockets.
Part 2: Understanding the Light
Cappadocia’s balloon flights happen exclusively at sunrise, which means you get one type of light—and it is the best type. Golden hour in Cappadocia unfolds in distinct phases:
Phase 1: Pre-Dawn (4:45–5:15 AM in summer)
The sky shifts from dark blue to deep purple. Balloons are inflating on the ground, lit by the burners. This is the time for dramatic silhouette shots: the balloon envelope glowing orange against the dark sky, crew members as dark shapes against the flame. Shoot at ISO 1600–3200, wide open aperture, and shutter speed of 1/60s or slower if you can hold steady.
Phase 2: Launch and Early Ascent
Soft, diffused light. The sun has not broken the horizon yet, but the sky is brightening. Colors are muted—pastel pinks and blues. This is when other balloons begin lifting off around you. Shoot the mass ascent: dozens of colorful envelopes rising at once against the lightening sky. ISO 800–1600, aperture f/5.6–f/8 for depth, shutter speed 1/125s or faster.
Phase 3: Golden Hour (5:40–6:10 AM)
The sun breaks the horizon. Everything turns gold. The fairy chimneys below cast long shadows. Other balloons glow warm on one side and remain cool blue on the shadow side. This is peak photography time—the 20–30 minutes that produce the most iconic Cappadocia images. ISO 200–400, aperture f/8–f/11 for maximum sharpness, shutter speed 1/250s or faster.
The direction you face matters. Balloons lit from behind (backlit) create rim-light effects and warm halos. Balloons lit from the front show full color and detail. Both work—shoot in every direction. Your pilot will rotate the basket naturally as the balloon turns in the air current.
Phase 4: Post-Golden Hour (6:10–6:45 AM)
The light becomes harsher and more contrasty. Shadows deepen. The warmth fades to neutral white. This is still good light for landscape shots showing the full Cappadocia terrain—valleys, rock formations, vineyards—but the romantic, warm quality has passed. Focus on wide shots that show the scale of the landscape rather than close-up balloon portraits.
Sunrise times shift by season. In April, the sun rises around 6:15 AM. In July, around 5:30 AM. In October, around 6:45 AM. We confirm exact flight times the evening before. For a deeper comparison of sunrise and sunset light, read our sunrise vs sunset photography guide.
Part 3: Camera Settings for Every Scenario
| Scenario | Mode | ISO | Aperture | Shutter | Notes |
|---|---|---|---|---|---|
| Balloon inflation (pre-dawn) | M or A | 1600–3200 | f/2.8–f/4 | 1/60s | Brace against basket edge for stability |
| Mass ascent | A | 800–1600 | f/5.6–f/8 | 1/125s+ | Wider focal length for multiple balloons |
| Golden hour landscape | A | 200–400 | f/8–f/11 | 1/250s+ | Expose for highlights, recover shadows in post |
| Portrait with balloons behind | A | 200–800 | f/2.8–f/4 | 1/250s+ | Spot meter on face, let background blow slightly |
| Fairy chimneys from above | A | 200–400 | f/8 | 1/250s+ | Shoot straight down or at 45 degrees |
| Backlit balloon silhouette | M | 100–200 | f/11–f/16 | 1/500s+ | Expose for sky, let balloon go dark |
For detailed camera settings including phone-specific adjustments, see our dedicated camera settings guide.
Part 4: Composition Techniques from the Basket
The “Frame Within a Frame” Shot
Shoot through the basket ropes or between two passengers to frame a balloon in the distance. The ropes add depth and context—the viewer immediately knows you are inside a balloon, not standing on a hill.
The Straight-Down Perspective
Hold your phone or camera over the edge (with a secure strap) and shoot straight down at the fairy chimneys below. At 300–500 meters, the scale is dramatic. The rock formations look like miniature sculptures. This angle is unique to balloon flights—you cannot get it from any rooftop or viewpoint.
The Human Element
The best balloon photos include people. A hand holding a champagne flute with 50 balloons in the background. A couple silhouetted against the sunrise. Someone looking out over the basket edge with the landscape below. Pure landscape shots are beautiful, but photos with human elements tend to feel more personal and get more engagement on social media.
The Scale Shot
When other balloons are above or below you, shoot to show the size difference between balloon and landscape. A single balloon above Uchisar Castle, or a row of balloons following a valley floor. These shots convey the enormity of the Cappadocia terrain and the smallness of human-made objects against it.
Basket Position Strategy
Your position in the basket matters. The basket is divided into sections separated by padding. Ask to be placed in the section facing east (toward sunrise) for the golden light shots, or the section facing the valley floor for landscape compositions.
Our first-timer tips article includes specific advice on requesting a basket position during check-in.
Part 5: Photographing from the Ground
Not every great balloon photo comes from the basket. Some of the most iconic Cappadocia images are taken from rooftops, hilltops, and valley viewpoints at sunrise. If you have a travel companion who is not flying, or if you want to shoot on a separate morning, these are the best spots:
- Goreme Sunrise Point (Lover’s Hill): The classic viewpoint. Balloons rise directly in front of you with fairy chimneys in the foreground. Arrive by 5:00 AM to get a front-row position. Tripod-friendly.
- Uchisar Castle: The highest point in the region. Balloons fly at your eye level or below you. Incredible for telephoto shots.
- Red Valley entrance: Balloons pass overhead along the valley. Great for looking-up perspectives with red rock formations framing the sky.
- Pigeon Valley viewpoint: Wide panoramas with balloons, Uchisar Castle, and the entire valley floor in a single frame.
- Hotel rooftop terraces: Many cave hotels in Goreme and Uchisar have rooftop terraces positioned directly in the balloon flight path. Book a room with a terrace for private sunrise access without the crowds.
For all 10 best ground-level spots with exact GPS coordinates and timing advice, read our Instagram spots guide.
Part 6: Video from the Basket
Video captures what photos cannot: the sound of the burner, the slow rotation of the basket, the silence at altitude. A few practical tips:
- Shoot in 4K 30fps for cinematic quality. 60fps is useful only if you plan to slow it down in editing.
- Hold your phone horizontally for landscape-format video. Vertical works for Instagram Stories and TikTok, but horizontal gives you more flexibility in editing.
- Pan slowly. The basket already rotates naturally. If you pan your camera on top of that, the video looks jittery. Hold steady and let the balloon’s movement create the motion.
- Record the burner sound. Point your phone upward when the pilot fires the burner. The roar followed by silence is one of the most atmospheric sounds of the experience.
For GoPro-specific settings and mounting advice, read our GoPro and 4K video guide.
Part 7: Post-Processing Tips
Cappadocia’s sunrise light is naturally warm and flattering, so heavy editing is rarely needed. A few targeted adjustments make the difference:
- White balance: Shift slightly toward warm (5500–6500K) to preserve the golden sunrise feel. Auto white balance on phones often cools the image to compensate for the warm light, which kills the atmosphere.
- Shadows: Lift shadows by 20–30% to reveal detail in the dark areas of the landscape without flattening the image.
- Contrast: Add 10–15% contrast to give depth. Sunrise shots can look hazy without a slight contrast boost.
- Dehaze: Cappadocia mornings can have light mist in the valleys. A 10–20% dehaze adjustment brings back clarity without making the image look artificial.
- Crop: Straighten the horizon. In a moving basket, almost every photo is slightly tilted. A 1–3 degree rotation makes a visible difference.
Lightroom Mobile, Snapseed, and VSCO all work well for quick edits on your phone. For RAW files, Lightroom Classic or Capture One give more control over color grading and noise reduction.
Part 8: Common Mistakes to Avoid
- Spending the entire flight behind a camera. Put the camera down for at least 10 minutes. Watch the landscape. Feel the silence. The photos will look the same on your camera roll, but the memory of actually being present will not.
- Over-zooming. Cropping in post is better than digital zoom during the flight. Digital zoom degrades quality. Shoot wider than you think you need.
- Ignoring the basket interior. The wicker, the ropes, the burner flame, the champagne glasses, the passengers’ expressions—these details tell the story of the experience. Not every photo needs to show the horizon.
- Only shooting horizontally. Alternate between landscape and portrait orientation. Vertical shots work better for social media and can capture the full height of a nearby balloon.
- Forgetting to clean the lens. Condensation from the morning dew and the heat of the burner creates a thin film on the lens. Wipe it every 10 minutes.
What Photography Gear Does Your Flight Include?
Our sunrise balloon flight (from EUR 150 per person) carries 22–28 passengers for an approximately 60-minute flight, and you are welcome to shoot freely on your own camera throughout. See the full flight details before you book.
Frequently Asked Questions
Can I bring a camera with a large telephoto lens on the balloon?
Yes. There are no restrictions on camera size or lens length. However, be mindful of space in the shared basket. A 70–200mm lens on a full-frame body is the practical maximum before you start crowding other passengers.
Is the balloon basket stable enough for sharp photos?
Yes. The basket moves gently with the wind, but since it moves with the air (not against it), there is generally very little vibration. Reasonably fast shutter speeds should get you sharp images handheld. The main moment of noticeable movement is during burner blasts, which last a few seconds.
Does the balloon company provide professional photos?
No—there is no photo or videography service where the pilot takes or sends you photos. You are welcome to shoot freely with your own camera or phone throughout the flight. See our flight page for full details on what is included.
What time should I arrive at the launch field for pre-dawn photos?
We pick you up from your hotel approximately 60 minutes before sunrise. You arrive at the launch field while it is still dark, which gives you time to photograph the inflation process—one of the most dramatic moments. No need to arrange separate transport.
Can I use a GoPro on a selfie stick during the flight?
Yes, but keep the selfie stick inside the basket perimeter. Do not extend it outside the basket walls, as the pilot needs clear sightlines and the stick could interfere with the burner or envelope. A short (30 cm) extension works best. For complete GoPro advice, see our GoPro and 4K video guide.
Should I shoot RAW or JPEG on my camera?
Shoot RAW if you plan to edit in Lightroom or Capture One. RAW files preserve more highlight and shadow detail, which is crucial for sunrise photography where the dynamic range is wide. If you prefer to share photos immediately without editing, shoot RAW+JPEG so you have both options.
Related Articles
What Happens Inside a Hot Air Balloon Basket: The Full Experience
What happens inside a hot air balloon basket in Cappadocia? Minute-by-minute from inflation to landing, sensory details, and insider tips.
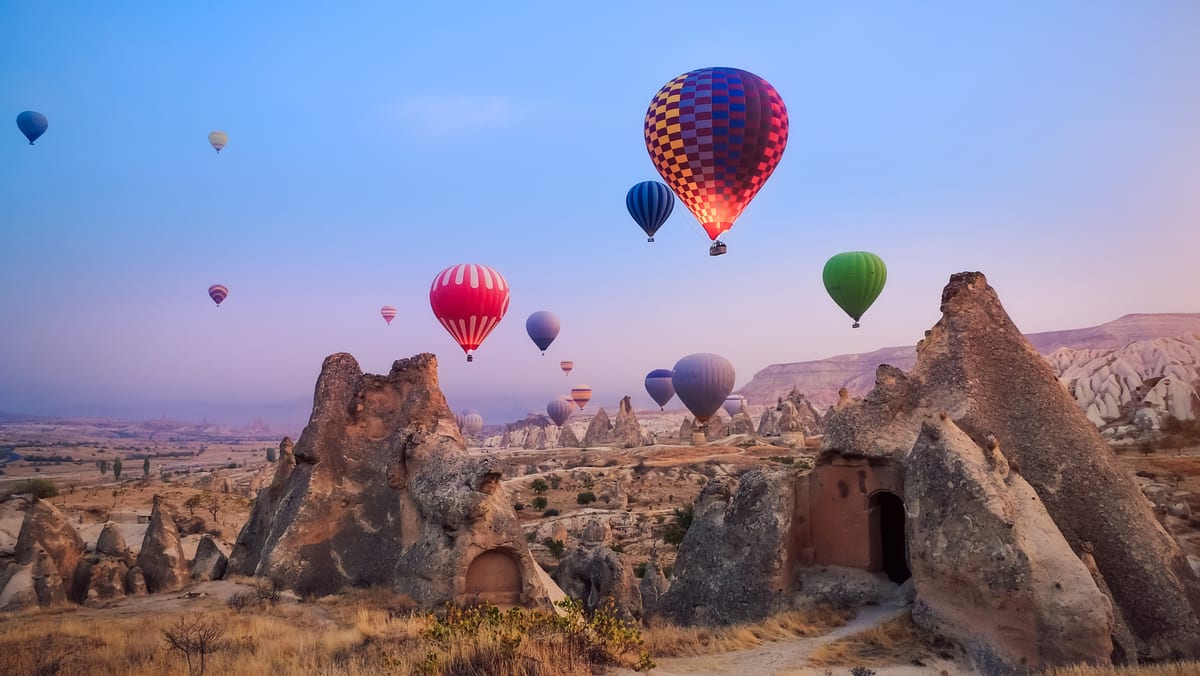
Cappadocia Balloon Pilot Training & SHGM Regulations
How Cappadocia balloon pilots are trained and licensed under SHGM regulations: required flight hours, CAA exams, annual checks, and what it means for your safety.
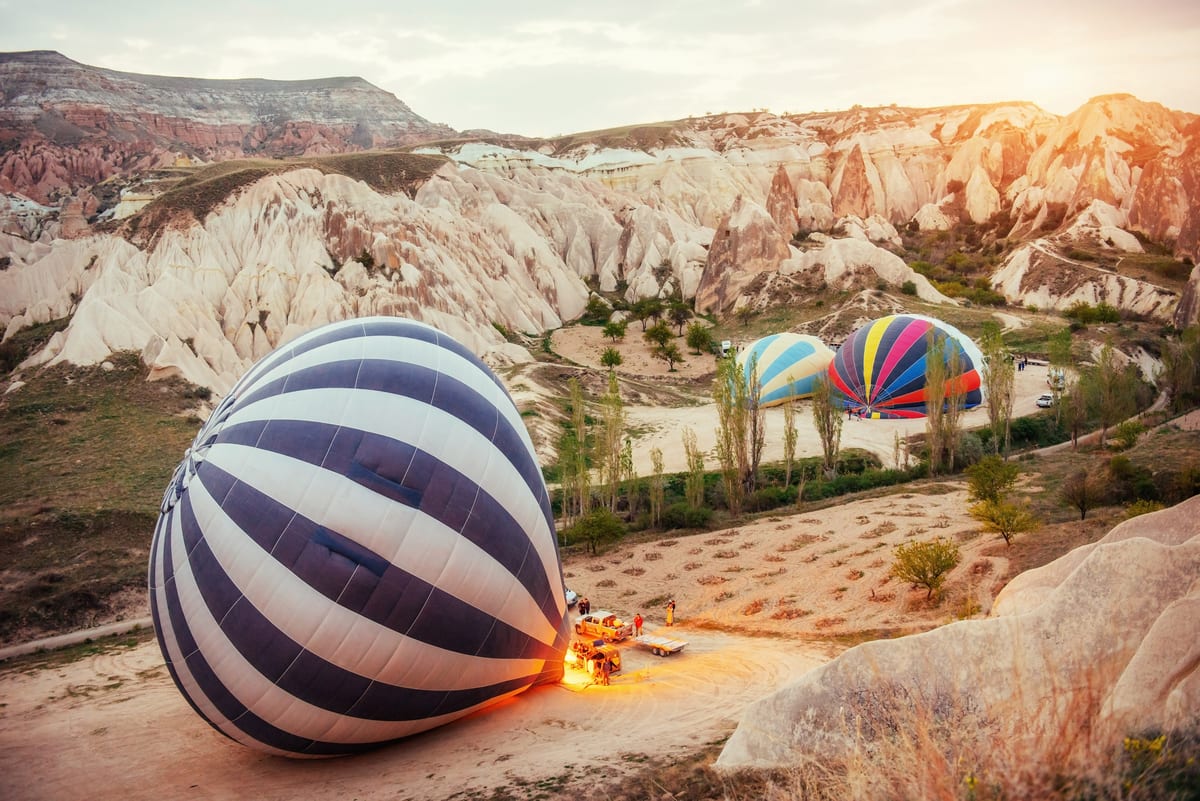
How Cappadocia Balloons Inflate and Land: The Full Procedure
How Cappadocia balloons typically inflate and land: cold inflation, hot inflation, launch sequence, in-flight controls, and landing on the trailer.
Capture Cappadocia from the Sky
Sunrise balloon flights from EUR 150 per person. Hotel pick-up, a light snack with hot and cold drinks, and a champagne toast are typically included; exact inclusions are confirmed with your quote.